There are many Dark Souls bosses that you will have to face in Dark Souls Remastered. All Dark Souls bosses are not for unskilled gamers, and it might take many attempts to clear all Dark Souls bosses.
All Dark Souls bosses tend to be ruthless, unpredictable at times, and incredibly strong. Here is a list of all Dark Souls bosses (not ranked by difficulty) that can be challenged and defeated in DS1 Remastered.
All Dark Souls Bosses (DS Remastered)
Asylum Demon
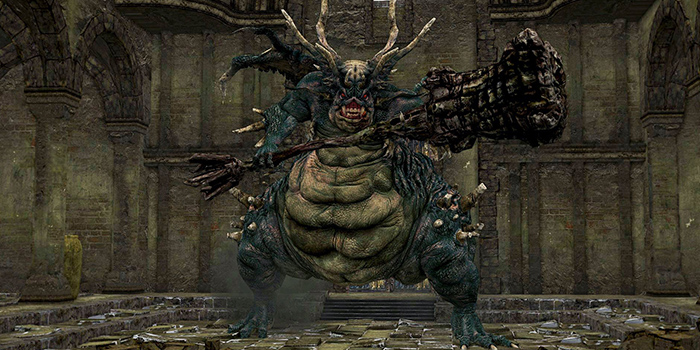
Location: Northern Undead Asylum
Loot: Humanity, Big Pilgrim’s Key, Demon’s Great Hammer
The very first of all Dark Souls bosses that you will have to face is the Asylum Demon. If you chose the Black Fire Bombs as your starting item, then you can kill the Asylum Demon with just 4 bombs.
If you didn’t choose the Black Fire Bombs, then you will just have to hack at him slowly until he falls.
Taurus Demon
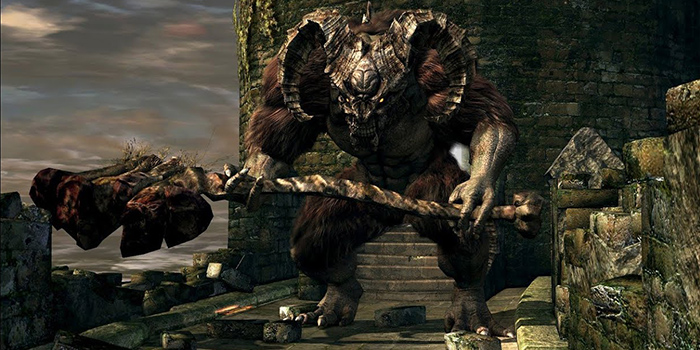
Location: Undead Burg
Loot: Humanity, Homeward Bone, Demon’s Greataxe
The Taurus Demon is an optional Dark Souls boss if you selected the Master Key as your starting item.
Before summoning the Taurus Demon, be sure to clear out the skeleton archers at the top of the tower behind you when you step on the bridge.
Once the Taurus Demon spawns, run back and climb the tower – drop down and slash him for a nice damage boost. Alternatively, you can get very close to him and hope that he jumps off the bridge by himself.
Hellkite Dragon / The Bridge Wyvern (Optional)
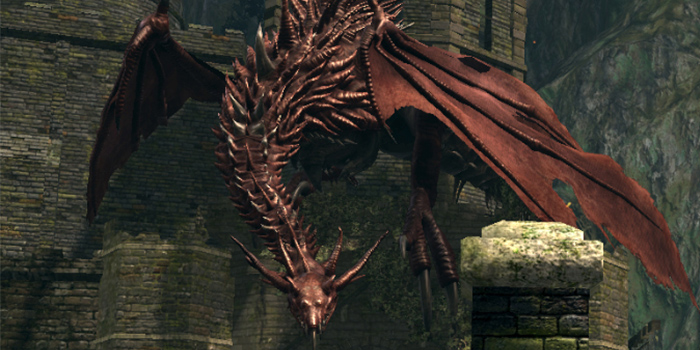
Location: Undead Burg
Loot: Drake Sword (Sever tail)
Of all optional Dark Souls bosses, the Hellkite Dragon is perhaps one you don’t want to skip. The most important thing you want to do during this battle is cut off his tail, once you’ve done this you will receive the Drake Sword which is an incredibly strong weapon early on in the game that will help you progress much faster. Stand on the bridge and lure him down, then start hacking at his tail.
Bell Gargoyles
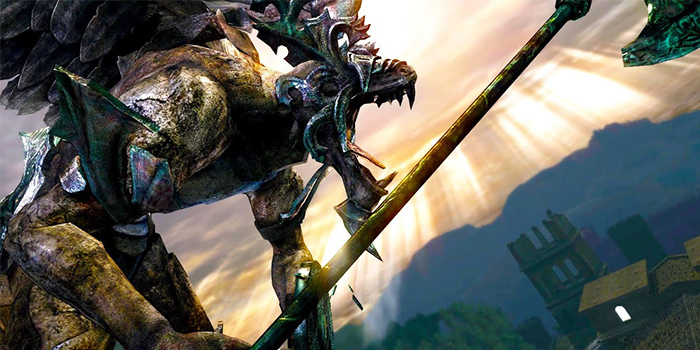
Location: Undead Parish
Loot: Twin Humanities, Gargoyle’s Halberd, Gargoyle’s Shield, Gargoyle’s Helm, Gargoyle’s Tail Axe
The Bell Gargoyles, yes, there are 2 of them. Once you get the first Bell Gargoyle down to about 50% health, a second one will join the fight. Be sure to take down the first one soon as possible so you can more easily survive the boss battle.
If you are having trouble beating the Bell Gargoyles, you can use Humanity to become human and summon Solaire before the fight to help you. This will make the fight much easier.
Once defeated, climb the tower and ring the bell.
Capra Demon (Optional)
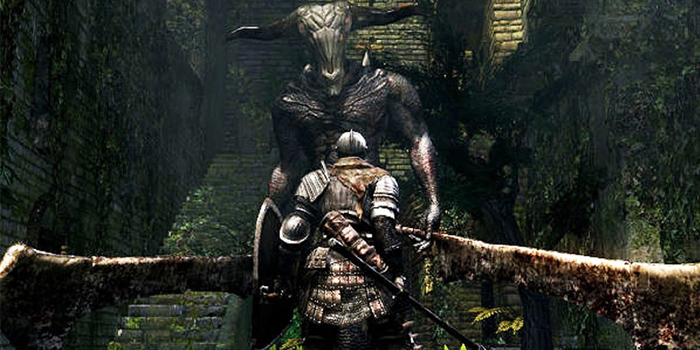
Location: Lower Undead Burg
Loot: Humanity, Key to the Depths, Homeward Bone, Demon Great Machete
The Capra Demon is completely optional, and quite a frustrating boss to fight early on in the game.
Once you traverse through the fog you will be greeted with 2 poison dogs, and the boss charging at you. The problem? You are in a tiny room which makes it extremely difficult to run or fight properly.
Your best bet is to try to run on the left side and up the stairs. From there you can take care of the poison dogs before focusing on the boss.
There is a cheap way to beat the Capra Demon, and that is by throwing a bunch of Dung Pies over the wall before traversing through the fog.
Moonlight Butterfly (Optional)
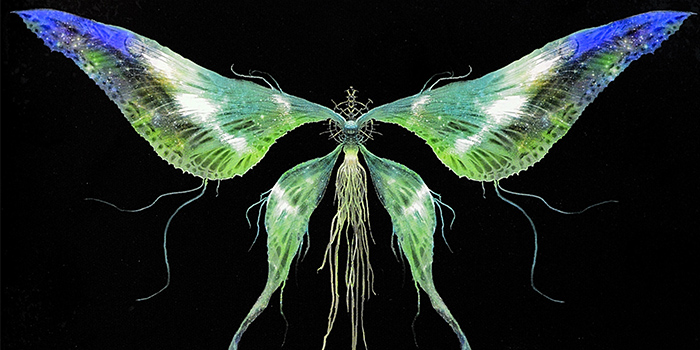
Location: Darkroot Garden
Loot: Humanity, Soul of the Moonlight Butterfly, Blue Titanite Chunk
The Moonlight Butterfly is one of the easiest Dark Souls bosses to fight. You can become human using Humanity and summon Beatrice and she can shoot the boss for you if you are playing a melee class.
Once the Moonlight Butterfly lands, just smack it a few times with your weapon of choice to defeat it.
Gaping Dragon
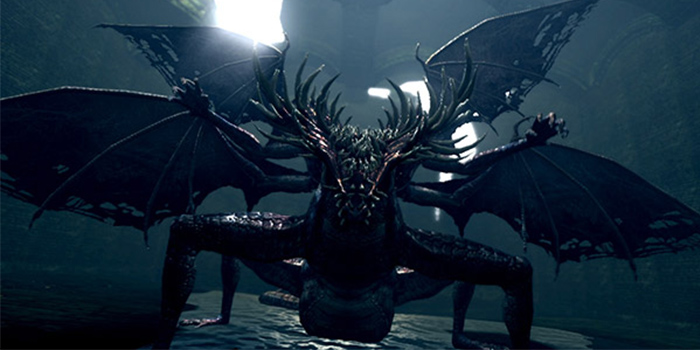
Location: The Depths
Loot: Twin Humanities, Homeward Bone, Blighttown Key, Dragon King Greataxe
The Gaping Dragon is also optional if you selected the Master Key at the start of the game, however, he is relatively easy to beat and gives you 20,000 souls.
For this boss, you can summon Solaire and Lautrec (his summoning stone is hidden behind the pillar by the last staircase) which should make this battle easy. Be sure to avoid his deadly grip though, that attack hurts a lot and can catch you by surprise.
Once killed, you will get the Blighttown Key and if you took out his tail you will get the Dragon King Greataxe as well.
Stray Demon (Optional)
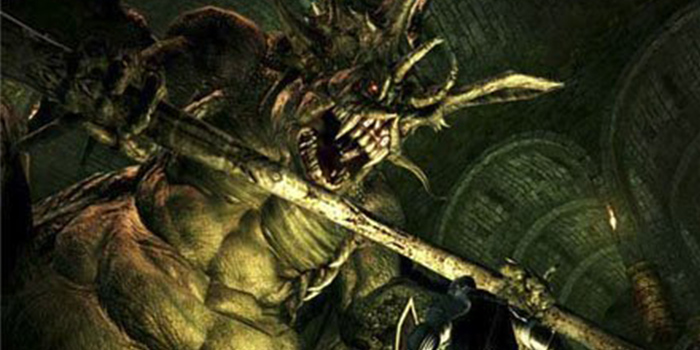
Location: Undead Asylum
Loot: Humanity, Homeward Bone, Titanite Slab
Of all Dark Souls bosses, the Stray Demon is just a reskin of the Asylum Demon you faced early on in the game. He is basically just a tougher Asylum Demon that you should have no problem killing.
If you want an easy kill, stay out of his range and throw Dung at him. This should bring him to about 25% HP if you wait long enough. Alternatively, you can use a weapon that causes bleeding such as the Bandit’s Knife for an easy kill.
Chaos Witch Quelaag
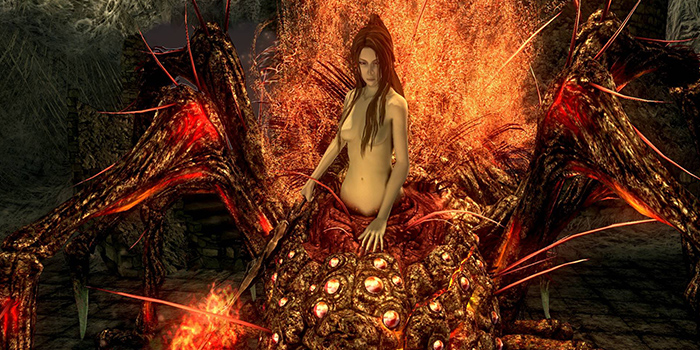
Location: Blighttown
Loot: Twin Humanities, Soul of Quelaag
Summon Mildred before this fight to make things a bit easier. The Chaos Witch Quelaag is a fire using spider that you don’t want to take lightly.
Stay close to her head to more easily avoid her sword attack, just be careful and roll away from her AOE attack when she bends down.
If Mildred survives the fight, she will claim half of the souls you earn for killing Quelaag.
Great Grey Wolf Sif
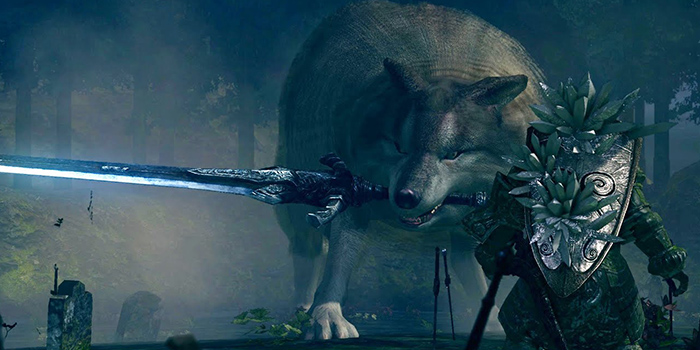
Location: Darkroot Garden
Loot: Humanity, Homeward Bone, Soul of Sif, Covenant of Artorias
Perhaps one of the most recognizable Dark Souls bosses you’ll encounter. A chunky wolf wielding a sword in its mouth.
Defeating the Great Grey Wolf Sif is essential as you need to collect the Covenant of Artorias for a later stage in the game.
To reach Sif you must first purchase the Crest of Artorias from the first blacksmith you encounter (Andre of Astora) for 20,000 souls. Alternatively you can reach him by using the ladder at the Hydra mini boss battle.
Hydra (Optional)
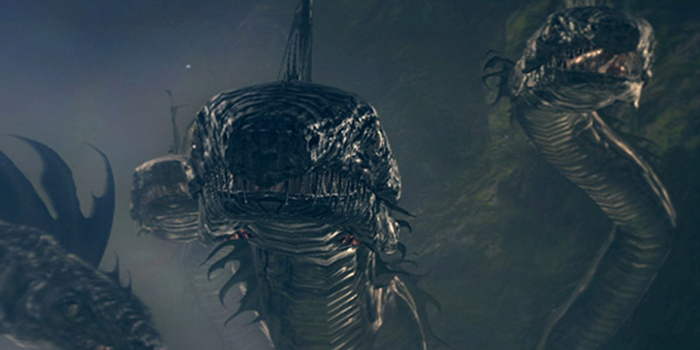
Location: Darkroot Basin
Loot: Dragon Scale, Dusk Crown Ring
The Hydra boss is a mini-boss and is completely optional. You are bound to encounter the Hydrat at one point in time though throughout your playthrough.
The Hydra sit below a ladder in Darkroot Basin and will shoot at you from time to time. To defeat the Hydra, you just need to keep avoiding it and wait until it drop’s a head on the ground. Hit the heads with all you got to chop them off.
Iron Golem
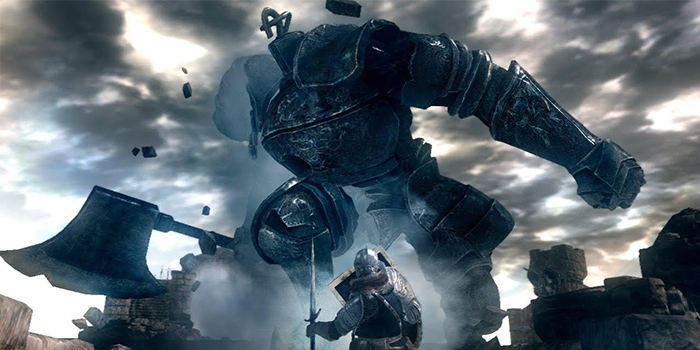
Location: Sen’s Fortress
Loot: Humanity, Core of an Iron Golem
Before fighting him, use some Gold Pine Resin to add a lightning effect to your weapon. The Iron Golem is weak against lightning and can be taken down pretty easily.
What makes the Iron Golem one of the easiest bosses in Dark Souls is that if you are in human form, you can summon a companion to help you, and the companion can take down the Iron Golem solo, without your help. You should have no problems defeating this Dark Souls boss.
Crossbreed Priscilla (Optional)
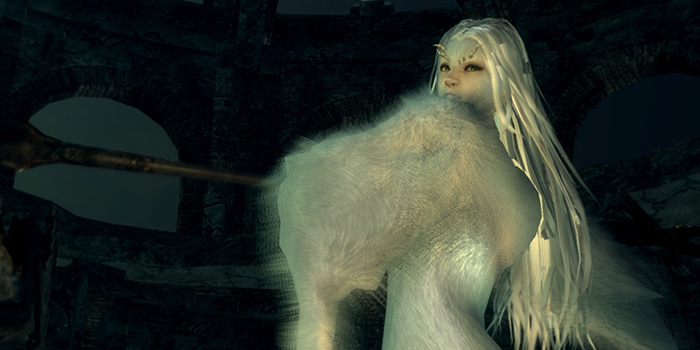
Location: Painted World of Ariamis
Loot: Twin Humanities, Soul of Priscilla, Priscilla’s Dagger
Priscilla is one of the optional Dark Souls bosses that will only attack you if you attack her first. Chopping off her tail with giving you Priscilla’s Dagger which afflicts bleed damage.
There are 2 phases to this battle but you must be sure to stay fully healed during phase 1. Phase 2 is considerably easier to do, however, Priscilla will swap between phases more than once if you don’t kill her quick enough.
If you have fire attacks, use them. Priscilla is weak against fire and will go down pretty quickly. Alternatively, use throwing knives to unstealth her.
Ornstein and Smough
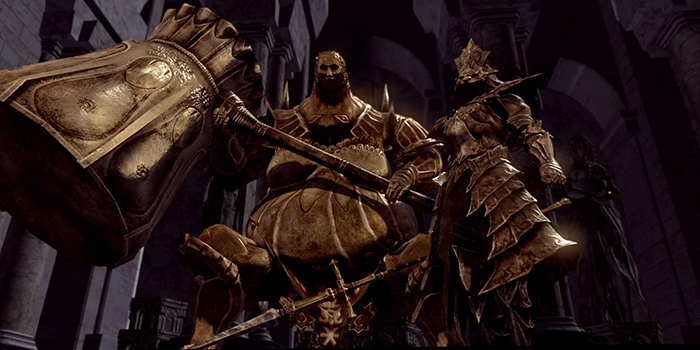
Location: Anor Londo
Loot: Soul of Ornstein, Soul of Smough, Leo Ring
These 2 bosses can be incredibly difficult to kill, and depending on who you kill last will determine your reward. Killing Ornstein (the small guy) first is the easier path to take, but killing Smough (the big guy) first will grant you a better reward.
It is highly recommended you summon Solaire in to this battle as that will help a lot with tanking one enemy.
Avoid using lightning attacks, as it won’t help at all, however, fire attacks can be very beneficial.
Dark Sun Gwyndolin (Optional)
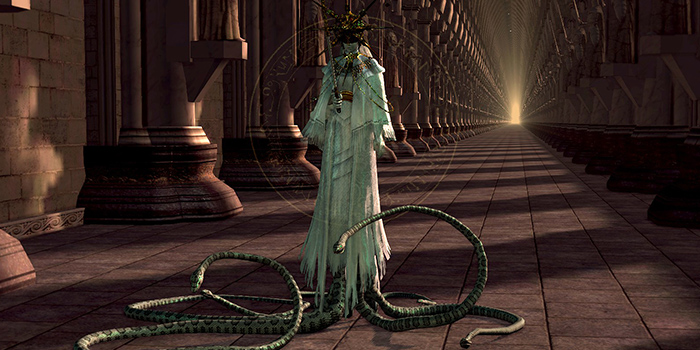
Location: Anor Londo
Loot: Soul of Gwyndolin, Brass Armor Set, Sunlight Blade Miracle
Gwyndolin is quite a confusing boss to deal with. You will find yourself just running and if you reach him quickly enough, you can do some damage.
The goal with defeating Gwyndolin is to get close whilst avoiding his attacks, then hitting him as you charge towards him. Rinse and repeat this until he is dead.
Easy kill: Shoot Gwyndolin with a ranged attack from 2 pillars away whilst avoiding his attacks.
Pinwheel
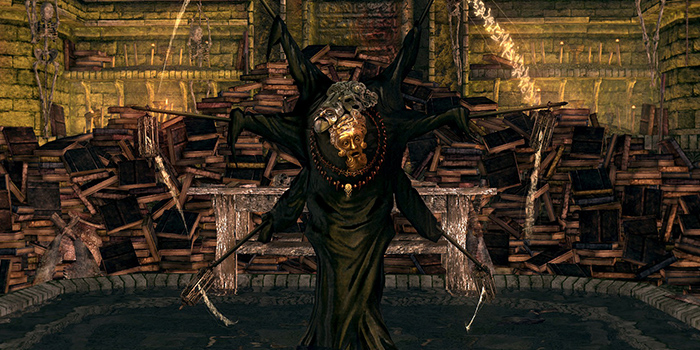
Location: The Catacombs
Loot: Rite of Kindling, Mask of the Father or, Mask of the Mother or, Mask of the Child
Pinwheel might be the easiest Dark Souls boss to deal with. He is incredibly weak to melee damage, but the reward you get is great.
If he gets a chance to use his clones, simply kill them and then hit the real Pinwheel.
Gravelord Nito
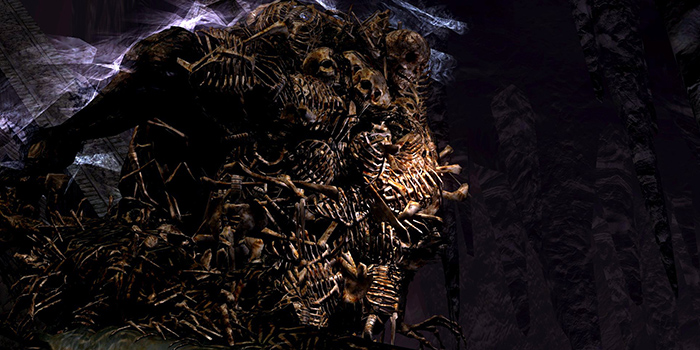
Location: Tomb of the Giants
Loot: Humanity, Lord Soul
Of all Dark Souls Bosses, Gravelord Nito can be one of the most difficult to deal with despite his easy-to-dodge attacks. When you fight Gravelord Nito, he has a ton of skeletons around him that keep diving into you and hitting you. You can permanently kill the skeletons by using a Divine weapon (if you have one).
Fire, hammers, and maces all deal extra damage to him, however, you can also use a Ring of Fog and wait at the entrance where you fall down until he makes his way to you, that way you won’t need to deal with the pesky skeletons.
Gravelord Nito drops the Lord Soul, which is essential to reach the final boss in Dark Soul Remastered.
Seath the Scaleless
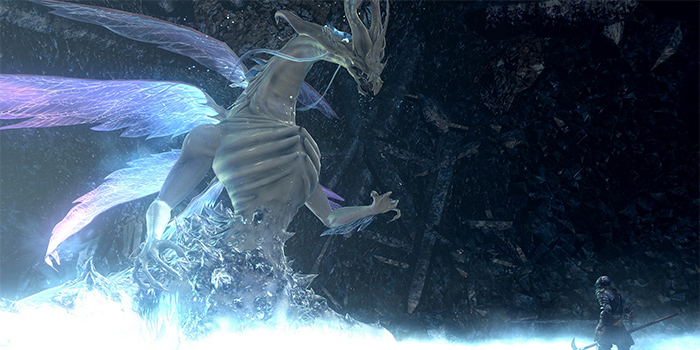
Location: The Dukes Archives (1st encounter), Crystal Cave (2nd encounter)
Loot: Humanity, Bequeathed Lord Soul Shard, Moonlight Greatsword
Before fighting Seath the Scaleless for the first time, be sure to equip a ring that allows you to keep your souls upon death.
The first time you encounter Seath the Scaleless in The Dukes Archives, you can’t win. You must die to progress.
The second time you fight him will be in the Crystal Cave, and this time Seath the Scaleless is super easy. Seath is weak to lightning and his skills are easily dodged if you stick close to him on either side.
If you wish to loot the Moonlight Greatsword, be sure to cut his tails off.
The Four Kings
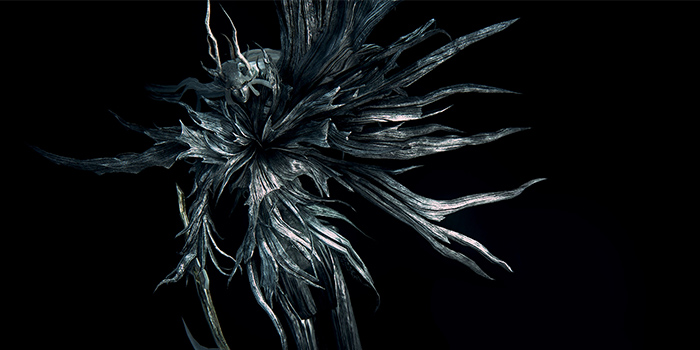
Location: New Londo Ruins
Loot: 4 Humanity, Bequeathed Lord Soul Shard
The Four Kings is a battle of speed so be sure you are able to move quickly with your character, even if that means taking off some gear.
Your goal when killing The Four Kings is to kill him as quickly as possible. After a set amount of time (not based on boss health %) a new enemy will spawn, which is why you will want to kill each enemy as quickly as possible so you don’t need to deal with multiple bosses.
Ceaseless Discharge (Optional)
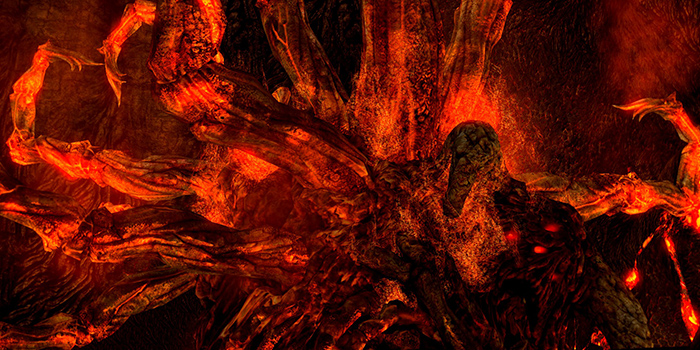
Location: Demon Ruins
Loot: Humanity, Homeward Bone, Gold-Hemmed Black Armor Set
Ceaseless Discharge is an optional boss that will only activate should you grab the items laying on the ground.
Once you’ve taken the items, run all the way back to the entrance and wait for the Ceaseless Discharge to attack the floor near you. He will get his arm stuck on the ground and you can kill the Ceaseless Discharge boss very easily easily.
Centipede Demon (Optional)
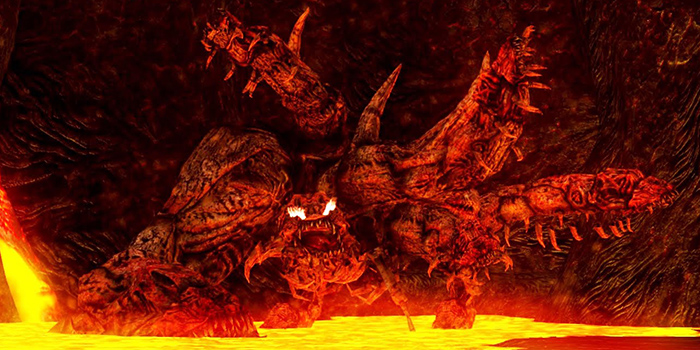
Location: Demon Ruins
Loot: Humanity, Homeward Bone, Orange Charred Ring
Despite being one of the optional Dark Souls bosses, it is highly recommended that you kill the Centipede Demon for its Orange Charred Ring which greatly reduces lava damage (will be needed later)
Killing the Centipede Demon is easy, however, he is immune to any fire attacks so be sure to avoid using fire.
Firesage Demon (Optional)
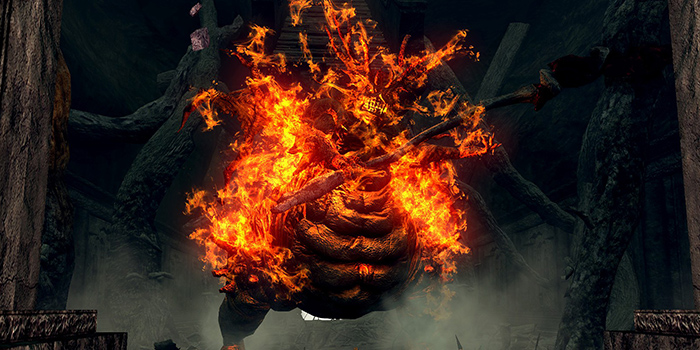
Location: Demon Ruins
Loot: Humanity, Demon’s Catalyst
The Firesage Demon is another reskin of the Asylum Demon. The Firesage Demon is probably one of the easiest Dark Souls bosses in the game as you are already experienced his moveset, and he is very easy to dodge. Just be careful of his AOE damage as he hits.
Bed of Chaos
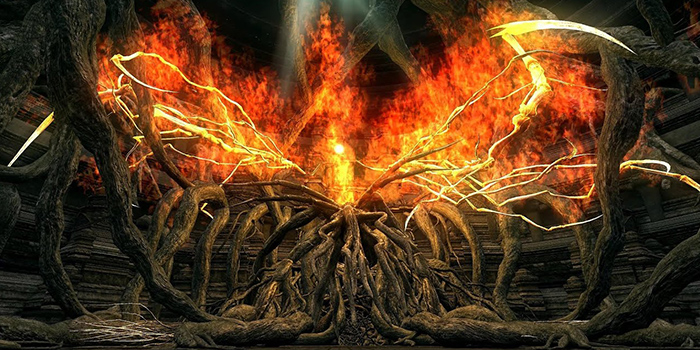
Location: Lost Izazlith
Loot: Humanity, Lord’s Soul
Buy some arrows and head over to the Bed of Chaos. This Dark Souls boss is relatively easy and it’s all about timing your jump at the end.
There are 3 parts to this fight, and they don’t respawn if you die making it easier each time.
Head over to the left or right side of Bed of Chaos and shoot your arrows through the branches to aim for the orb. Do this on each side before running through the middle and jumping down the platform and finishing the boss from the inside.
If you find that you are dying too often, and the walk back is too far, then be sure to unlock a secret bonfire that is closer to the boss and the one you might be using.
Gwyn, Lord of Cinder
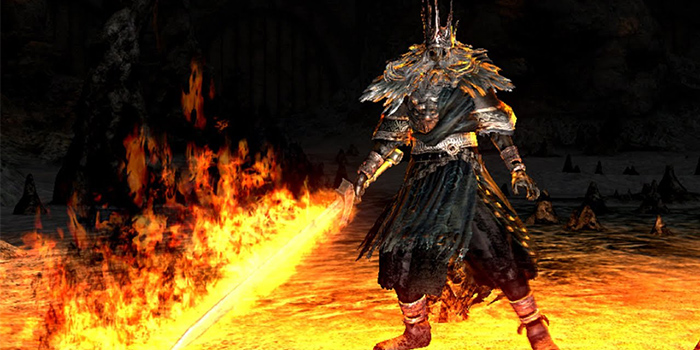
Location: Kiln of the First Flame
Loot: Soul of Gwyn, Lord of Cinder
The final boss of Dark Souls Remastered, Gwyn, Lord of Cinder.
Gwyn is surprisingly fast, but very easy to defeat as his attacks can be parried. Before you enter the fight, be sure to equip your strongest armor, and then just parry your way to victory.
After about 3-5 parries, Gwyn, Lord of Cinder should fall and you will have completed Dark Souls.
Dark Souls Prepare to Die Edition – DLC Bosses
All of these Dark Souls bosses in the Prepare to Die Edition (also comes included in the Remastered Edition) are optional. You do not need to fight or kill any of these Dark Souls bosses to beat the game.
Sanctuary Guardian
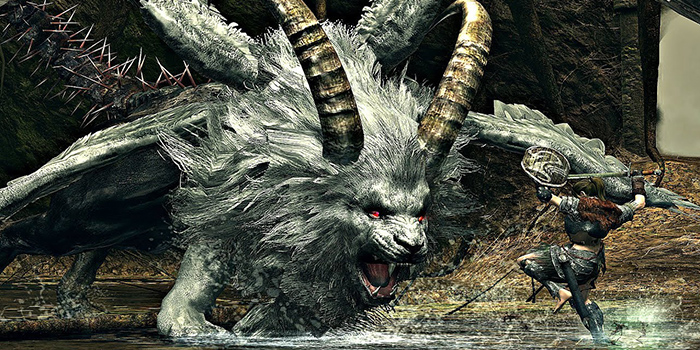
Location: Sanctuary Garden
Loot: Humanity, Guardian Tail, Guardian Soul
Keep your distance when fighting the Sanctuary Guardian, and be aware of his wind gusts. Avoid using heavy armor as it will make you less nimble.
Simple dodge his attacks and use quick counterattacks to take him down. If you manage to cut off the Sanctuary Guardian’s tail, you will be rewarded with a weapon which is literally called ‘The Guardian’s Tail’.
Artorias the Abysswalker
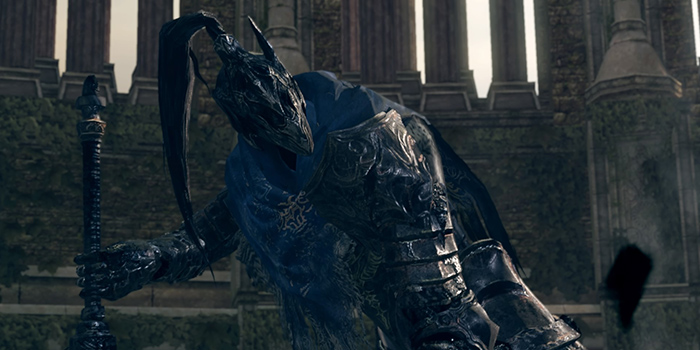
Location: Royal Wood
Loot: Soul of Artorias
Artoria the Abysswalker is a melee fighter that is super quick, but easy to dodge. Be sure to be light on your feet as you will need to dodge Artorias’ attacks frequently.
Use a weapon with a long reach, such as a Halbert to take care of the job. Artorias should not give you too much trouble if you are light-footed.
Black Dragon Kalameet
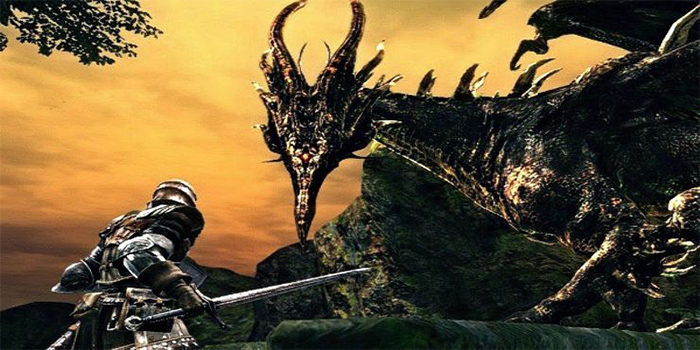
Location: Royal Wood
Loot: Calamity Ring, Obsidian Greatsword
To fight Black Dragon Kalameet you will need the Crest Key, which can be obtained in the Oolacile Township in a Mimic Chest by the fireplace. Attack it rather than open it to obtain the key.
Once you have the key, head through the door unlocked by the Crest Key and talk to Hawkeye Gough. He will shoot Kalameet to the ground, allowing you to kill him.
To win, you need to take your time. hit him once or twice at most perchance you get. Try to rinse and repeat without getting greedy or impatient as Kalameet has many attacks that could be annoying to deal with.
Manus, Father of the Abyss
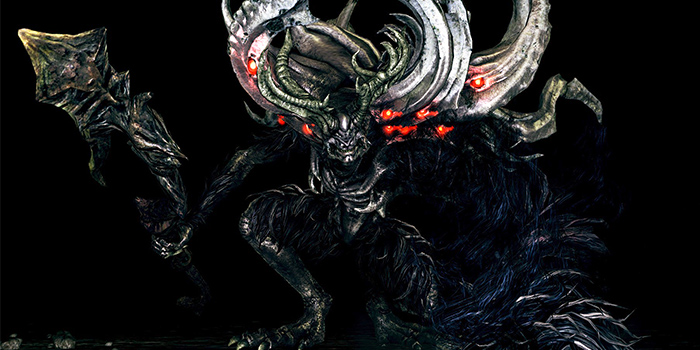
Location: Chasm of the Abyss
Loot: 10 Humanity, Soul of Manus
Weak to nothing, resistant to nothing. Manus, Father of the Abyss can be easily blocked if you have a decent shield. The only attack you need to avoid is Manus’ downward strike. Once he does that, there will be an opening to attack.
Other than Manus’ downward strike, just use your shield to block as it shouldn’t do any damage to you.
Thinking about streaming DS1 on Twitch? Check out our article on the best streaming headsets of 2022.

A gaming lover from a very young age, Justin has always had a keen eye for building his own computers or racing sims so that he can race his identical twin (and usually lose at the actual race).
Justin in the founder of BeStreamer and sees it as a free resource to help all gamers around the world


